This tutorial will show you how to quickly resize a photograph so that you can email it to friends or put it on a web page.
Before you do anything, make a backup copy of the photo you want to resize. It is always a good idea to keep the original file untouched - once you make a photo smaller, you can never go back to the original size without losing detail!
The next step is to download Irfanview , a fantastic free program that we've always been a big fan of. It's small and easy to use.
Once you download the file, double-click on the downloaded file to install the program. To start Irfanview, click on Start -> Programs -> Irfanview -> Irfanview 3.98 (or whatever version number you downloaded).
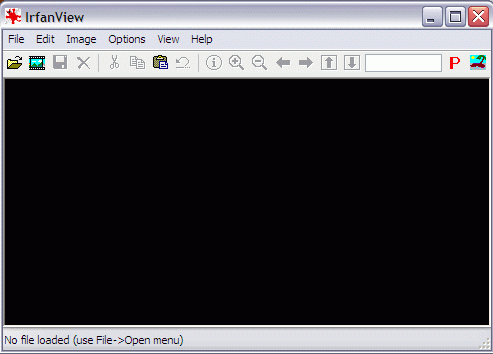
Now you will see the Irfanview program's main screen:
Click on the File menu and choose Open. Browse your computer and find the file you want to resize. If you made a backup copy, be sure to use that one and save the original! In this tutorial, we're going to use the following photo of my little boy:

It's not a very big photo, but it will do for this test run. Click on the Image menu and choose Resize/Resample. You will see the following box appear:

There are plenty of options here, but you don't have to be too concerned with most of them. In the top left, it shows you the current size of the photo in pixels. In my case, the photo is 500 pixels wide and 375 pixels high. Under the Set new size: option, I entered a new width: 300. The height was automatically adjusted for me to 225, so that the picture would continue to have the correct dimensions and not look skewed.
If you're not sure how big you want to make a photo, some sample sizes are on the right. For instance, if you wanted this photo as a desktop wallpaper, you could choose Best Fit to Desktop.
When you are done selecting the new size for your photo, click the OK button. Your photo is now the new size!

Now, go ahead and save your photo. I hope that you are using the backup copy - in that case, you can just click on the File menu and choose Save. If you are not using the backup copy of the photo, click on the File menu and choose Save As..., then give the file a new and different name. After saving, you can go ahead an close Irfanview.
That's all there is to it!